
Vastex Vacuum Blanket EUB-2331: Your Solution for Reliable Exposure Unit Performance
Vastex
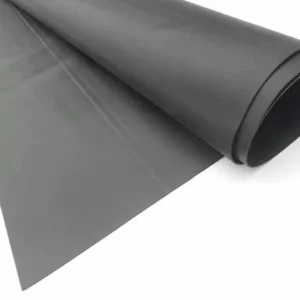
The Vastex Vacuum Blanket offers a dependable solution for maintaining optimal performance in your exposure unit. Specifically designed for use with Vastex units, this replacement blanket ensures consistent and precise screen exposures by providing a reliable vacuum seal. Crafted with durability in mind, it effectively replaces worn-out or aging blankets that may lead to leaks or inconsistencies in the exposure process. Keep your screen printing workflow running smoothly with the Vastex Vacuum Blanket, the trusted choice for reliable exposure unit performance.
$195.00
Description
- Ensure consistent and precise screen exposures with the Vastex Vacuum Blanket, designed specifically for use with Vastex exposure units.
- As an essential component of the exposure process, this replacement blanket guarantees optimal vacuum seal, preventing any leaks or inconsistencies that may arise from wear and tear over time.
- Crafted with durability in mind, the Vastex Vacuum Blanket provides a reliable solution to replace older or worn-out blankets, ensuring your exposure unit operates at peak efficiency.
- Keep your screen printing workflow running smoothly with the Vastex Vacuum Blanket, the trusted choice for dependable exposure unit performance.
Technical Specifications
Technical Sheets / Safety Data Sheets / Documents
Video
Reviews
Only logged in customers who have purchased this product may leave a review.
You May Also Like
Related products
-

Vastex Vacuum Blanket EUB-3030: Your Solution for Reliable Exposure Unit Performance
$130.00 -
Vastex Vacuum Blanket EUB-4427: Your Solution for Reliable Exposure Unit Performance
$272.00 -
Vastex Vacuum Blanket EUB-2227: Your Solution for Reliable Exposure Unit Performance
$156.00 -
Vastex Vacuum Blanket EUB-4731: Your Solution for Reliable Exposure Unit Performance
$400.00
Reviews